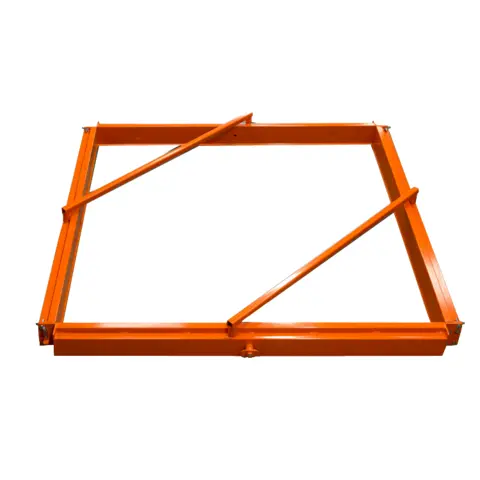
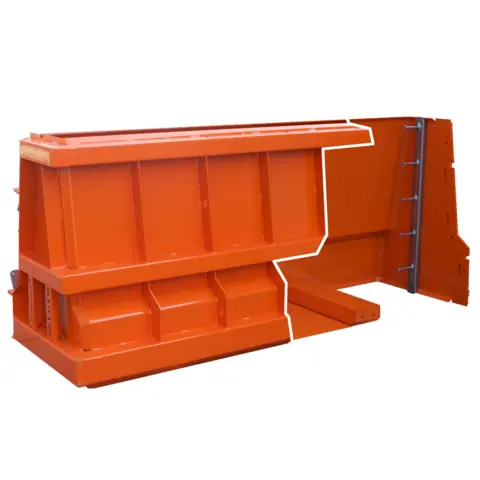
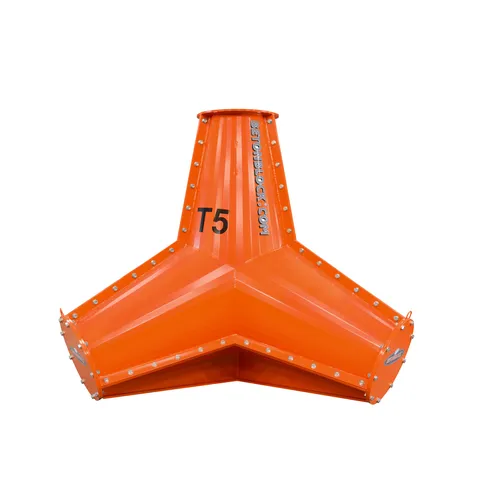
Tutorials
With these instructions anyone can make a concrete block. Combined with our BETONBLOCK© SYSTEM containing all the products and accessories you could possibly need making a concrete block will be child’s play.

Step 1 - Place empty mold on a steel
First, the mold is placed on a flat surface, for example a steel plate.

Step 2 - Applying oil to the inside of the mold
Mold oil (release agent) must be applied to the inside of the mold in order to facilitate removal of the block.

Step 3 - Pouring the concrete
The concrete is poured gradually to ensure a proper filling of all the nooks and crannies.

Step 4 - Compacting
Alongside the pouring of the concrete the fresh concrete has to be compacted. This is achieved by using an immersion vibrator during the pouring process.

Step 5 - Levelling
After the mould has been filled the concrete is smoothened with a trowel. Curing time is dependent on the concrete and external conditions.

Step 6 - Removing pins and wedges

Step 7 - Open the mold

Ready! Give yourself a pat on the back!
For those who prefer a video, here is an instruction video.
- Anchors, how do you place them?
- We explain this below in 8 steps
- Sometimes a picture says more than a thousand words

Step 1 - Place the magnet (BBMAG01) in the middle center? of the mold

Step 2 - Place the rubber (BBGRO02) around the anchor (BBHA025)

Step 3 - Place the anchor with the rubber in the magnet

Step 4 - The anchor is cast in its entirety, be careful when vibrating the concrete

Step 5 - When the mold is opened, the magnet remains in the mold

Step 6 - Remove the rubber from the anchor

Step 7 - Only the top of the anchor is now visible

Step 8 - Attach the hooks to the anchors and the load is ready to be lifted

INSTRUCTION MANUAL BT2500
Product description
Block Turner. The concrete block turner has been especially designed to turn concrete blocks without damaging them. The blocks are casted on their side and the block turner easily moves them into the upright position. The engine handler uses a remote control and the hydraulic block-turner tilts the block 90 degrees. This set contains: • BT2500 Block Turner • Remote Control • User Guide & Quick Guide.
The following steps will guide you to quickly set-up your Betonblock remote for your BT2500.

1. Unpack BT2500
Your BT2500 arrives wrapped up tight so it can’t move during transport. Remove the strap before use.
It has been pre-installed, so in general there is no need to change the settings.

2. Setup before use
First release the emergency break.
Switch on the BT2500 by flipping the black switch. The led indicator should turn green. The device is now ready for use.

3. Remote setup
To start using the remote, press the switch on the rear side to forward position.
Attention: While pressing the upper/lower button, aim for the right side of the BT2500 where the infrared detector is located.

4. Getting ready to start
To start using the BT2500, press the upper button to turn the device in upright position. It should open until straight. If not, press upper button again.
Use a clamp to place a block on the BT2500 and press the upper button again.
Attention: The machine won’t lower without a block!

5. Turning the block
When the block lowers, the BT2500 needs 20 seconds before remaining in a locked down position. If the handler is ready beforehand press the lower button to lock the low position. Then clamp the block with the BETONBLOCK® Clamp.
Attention: The BT2500 will move to the upright position if a block is removed within 20 seconds or without pushing the lower button.

6. Clamping the turned block
Clamp the block when the system is in lockdown position (after 20 seconds or after pressing the lower button). Then remove the block.